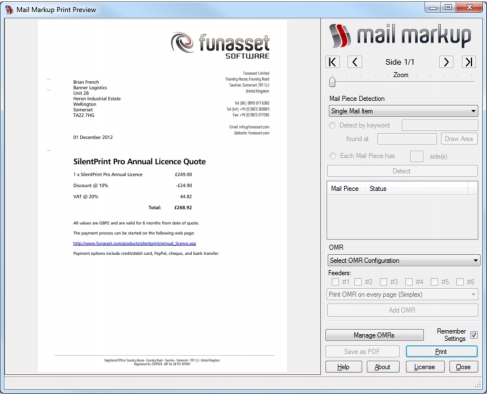
To configure and manage the way Mail Markup Office processes mail pieces, an interface (Fig. 3) is provided.
The Mail Markup Office interface (Fig. 3) is opened (launched) in one of the following ways:
|
•
|
From the application used to compose your mail.
|
To open the Mail Markup Office interface (Fig. 3) from the application used to compose your mail, perform the following actions:
|
1.
|
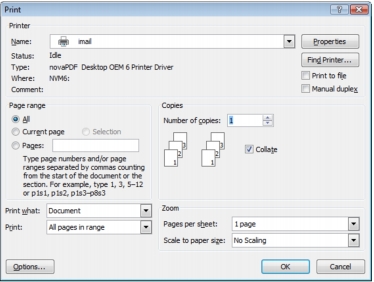
Open your application’s Print dialog (Fig. 4) by clicking the Print button or selecting the Print option normally found on the File menu.
|
|
2.
|
To open the Mail Markup Office interface (Fig. 3) using the Windows Start menu, perform the following actions:
The Mail Markup Office interface contains edit boxes (Fig. 5) where text-based information can be specified.
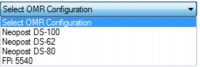
The Mail Markup Office interface contains list boxes (Fig. 6) with selectable pre-defined options.
The Mail Markup Office interface contains check boxes (Fig. 7) that allow settings and options to be selected (by adding a tick) or unselected (by removing a tick).
The Mail Markup Office interface contains radio buttons (Fig. 8) that allow single choice settings and options to be selected (by adding a dot) or unselected (by removing a dot).
When information contained in certain Mail Markup Office components exceeds its boundaries, vertical and/or horizontal scroll bars (Fig. 9) appear. These provide a mechanism for moving the content up and down or left and right to reveal the hidden content.
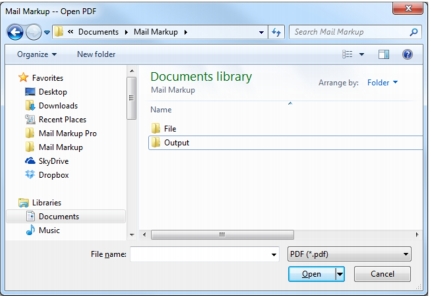
There are a number of processes in the Mail Markup Office interface (Fig. 3) such as specifying a folder or finding a file that require the Windows file system to be navigated. Navigation is performed in a Browse dialog (Fig. 10).
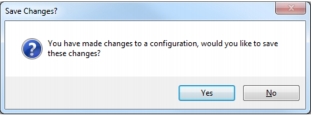
Certain actions, such as selecting an OMR configuration when the currently selected OMR configuration has had changes made to it, cause a Save Changes dialog (Fig. 11) to open.
Actions that require confirmation, such as exporting an OMR configuration when an OMR configuration file with the same name already exists, cause a Confirm Action dialog (Fig. 12) to be opened.
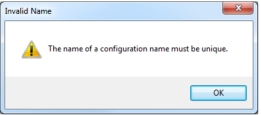
Following the completion or failure of an action such as specifying an OMR configuration name that already exists, a Notification dialog (Fig. 13) is normally opened.